The Meta Quest has revolutionized immersive gaming and experiences with its stand-alone VR capabilities. However, like any internet-connected device, your data and privacy are vulnerable while you’re connected to the web. A Virtual Private Network (VPN) adds a layer of encryption and can unlock geo-restricted content, making it an essential tool for any tech-savvy Quest user. If you’re wondering how to install a VPN on your Meta Quest, this 2025 guide will walk you through the process step by step.
Why Use a VPN on Meta Quest?
Before diving into the installation methods, it’s important to understand why someone would want a VPN on their Meta Quest in the first place:
- Privacy Protection: A VPN encrypts your internet traffic, safeguarding your data from prying eyes.
- Secure Public Wi-Fi: If you use your Quest on unsecured networks such as hotel or café Wi-Fi, a VPN is crucial for security.
- Bypass Geo-restrictions: Want to watch VR content or download apps not available in your region?
- Improved Streaming Options: Some users report faster access to certain servers during peak times when using a good VPN.
Now that we’ve covered why a VPN can benefit your Quest, let’s dive into how you can actually set one up.
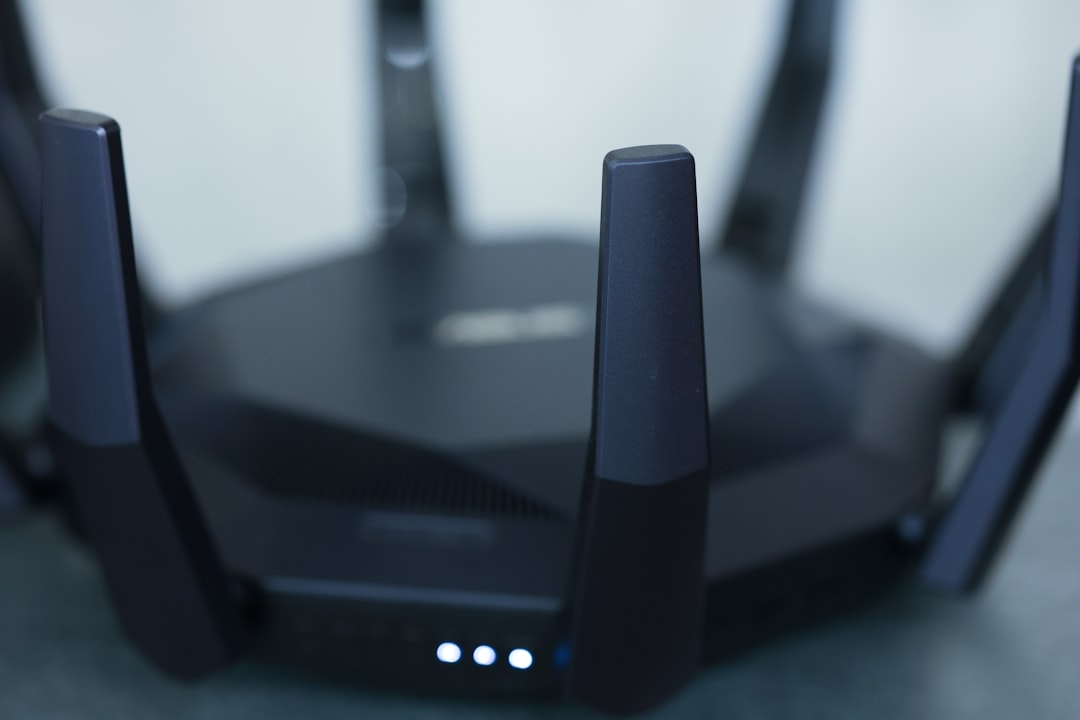
Installation Method 1: Use a VPN Router
This is the easiest option—and it doesn’t require any sideloading or special configurations on the headset itself.
Steps:
- Subscribe to a reputable VPN service that supports router configuration (e.g., ExpressVPN, NordVPN, Surfshark).
- Install the VPN on your home Wi-Fi router following your provider’s instructions.
- Connect your Meta Quest to that Wi-Fi network. Boom—you’re protected!
Pros: Simple and effective.
Cons: Limited to use at home unless you travel with your router.
Installation Method 2: Sideloading a VPN APK
For more control, you can sideload a VPN app directly onto your Quest. This involves installing Android APK files on the device—don’t worry, we’ll break it down.
Requirements:
- A computer (Windows, macOS, or Linux)
- Meta Quest Developer Mode enabled
- SideQuest installed on your computer
- A VPN APK file (from your VPN provider’s website)
Steps:
- Enable Developer Mode via the Meta Quest mobile app under Settings > Developer Mode.
- Download and install SideQuest on your PC or Mac.
- Connect your Meta Quest via USB and launch SideQuest.
- Drag and drop the VPN APK into SideQuest to install the app on your headset.
- Use the Apps menu on Quest (switch to Unknown Sources) to launch the VPN app.
- Sign in and connect—Now you’re surfing in stealth mode!
Pros: Direct device control and access to full VPN features.
Cons: Slightly technical, may not work with all VPNs.

Installation Method 3: Use a Windows PC VPN Bridge
Another option is to share your PC’s VPN connection with your Meta Quest over a mobile hotspot or tethered connection.
Steps:
- Install and connect your VPN on your Windows PC.
- Open Network and Sharing Center > Mobile Hotspot settings.
- Enable Mobile Hotspot and choose to share your VPN-connected internet connection.
- Connect your Meta Quest to the new Wi-Fi network broadcasted by your PC.
Pros: Use any standard VPN app with Windows.
Cons: Tethered to your PC; needs good PC performance.
Recommended VPNs for Meta Quest in 2025
Not all VPNs are created equal. When choosing one for your Meta Quest, consider speed, reliability, and ease of configuration. Here are some top picks:
- ExpressVPN: Great for router setups and sideloading, fast and secure.
- NordVPN: Easy app interface, strong security features.
- Surfshark: Budget-friendly with unlimited device connections.
All of these services offer detailed guides and customer support if you run into any issues during setup.
Final Tips and Security Best Practices
Here are a few final tips to ensure your VPN running on Meta Quest is both effective and efficient:
- Test Your IP: Use IP lookup websites to confirm your VPN is masking your IP while in VR.
- Use Split Tunneling: Some VPNs allow you to select which apps go through the VPN.
- Always Update: Keep your VPN and Quest OS updated for bug fixes and performance.
With a VPN installed, your Meta Quest opens up a new layer of secure and unrestricted possibilities. From safer public Wi-Fi to watching region-locked VR content, this small step takes your virtual adventures to the next level.