Encountering a CMOS checksum error can be confusing and frustrating, especially if your computer starts incorrectly. This error indicates a mismatch between the CMOS (Complementary Metal-Oxide-Semiconductor) memory and BIOS settings, often causing boot-up problems. This guide explains why this error occurs and how to fix it quickly and easily.
Understanding CMOS Checksum Errors
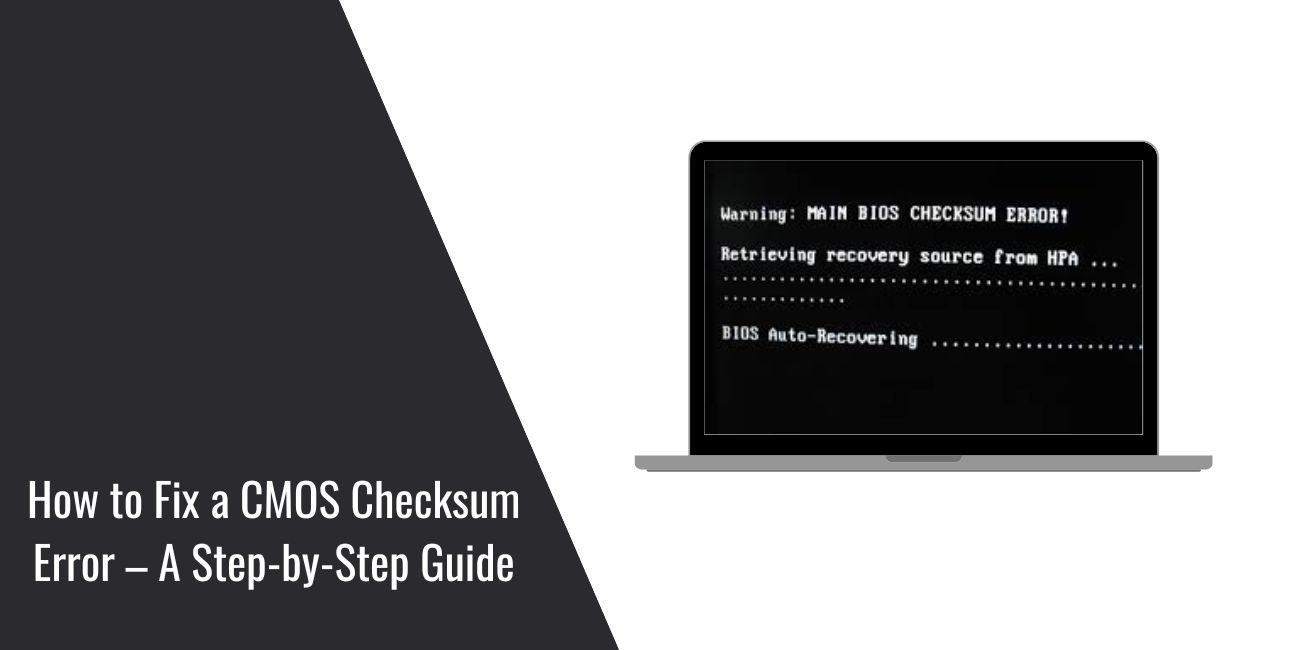
The CMOS is a small memory chip on your motherboard that stores BIOS settings. A checksum error occurs when the information stored in CMOS does not match what the system expects. This mismatch typically results from the motherboard’s battery failing, the BIOS becoming corrupted, or hardware issues like power surges and improper shutdowns.
Several issues can lead to a CMOS checksum error:
- Failed or Weak CMOS Battery: The CMOS battery provides power to retain BIOS settings. When it weakens or fails, settings can become corrupt.
- Corrupted BIOS: Sudden power interruptions or faulty BIOS updates can corrupt BIOS data.
- Hardware Issues: Loose or faulty hardware connections, such as RAM or CPU, can cause data inconsistency.
- Outdated BIOS Firmware: Using outdated BIOS can lead to compatibility and data management issues.
How to Fix CMOS Checksum Errors
Here’s how you can resolve CMOS checksum errors:
1. Replace the CMOS Battery
Replacing the CMOS battery is a straightforward solution:
- Turn off your computer and unplug it from the power source.
- Open your computer case to access the motherboard.
- Locate the CMOS battery (usually a small, round battery).
- Carefully remove the old battery and replace it with a new one of the same type.
- Reassemble your computer, plug it in, and turn it on.
2. Reset BIOS Settings to Default
If your BIOS settings have become corrupted, resetting them can help:
- Restart your computer and enter the BIOS setup (usually by pressing Del, F2, or F10 during startup).
- Locate and select the option “Load BIOS Defaults” or “Reset to Default Settings.”
- Save the changes and exit BIOS.
3. Update or Flash BIOS Firmware
Outdated or corrupted BIOS firmware can be updated:
- Visit your motherboard manufacturer’s website and download the latest BIOS update.
- Follow the provided instructions carefully to update your BIOS.
- Restart your computer after updating.
4. Check Hardware Connections
Loose or improperly connected hardware components can cause CMOS errors:
- Turn off and unplug your computer.
- Open the case and inspect all connections, especially RAM, CPU, and storage drives.
- Reseat any loose connections and components.
- Reassemble and power up the computer.
Preventative Measures to Avoid Future CMOS Errors
Regular maintenance can help avoid future CMOS checksum errors:
- Regularly check your CMOS battery and replace it every 3-5 years.
- Keep your BIOS firmware updated to the latest version.
- Use surge protectors to protect against sudden power issues.
- Properly shut down your computer rather than abruptly powering it off.
- Periodically inspect and clean internal components to prevent dust buildup and overheating.
Conclusion
A CMOS checksum error can seem daunting, but fixing it often involves straightforward solutions like replacing the battery, resetting BIOS settings, or updating firmware. Regularly performing preventative maintenance helps ensure system stability and reduces the likelihood of future issues. Follow this guide carefully to resolve your CMOS checksum error effectively.