Creating a talking head video is one of the most effective ways to communicate your message, establish authority, and connect directly with your audience. Whether you’re producing content for YouTube, corporate training, or social media, mastering this format is essential for any video creator. This guide will walk you through every step, from preparation and equipment to filming and editing — perfect for beginners who are ready to get started.
What is a Talking Head Video?
A talking head video is a type of content where a speaker is shown from the shoulders up, delivering information directly into the camera. It’s a simple, yet powerful format that allows viewers to connect with the speaker on a personal level, enhancing trust and engagement. Often used in educational content, interviews, news commentary, and tutorials, the talking head video puts the focus entirely on your message and delivery.
Step 1: Plan Your Message
Before pressing the record button, it’s essential to define the purpose of your video. Ask yourself:
- Who is my audience?
- What message am I trying to convey?
- What action do I want viewers to take after watching?
Use this information to create a script or outline. Keep your language clear and concise to maintain viewer attention.
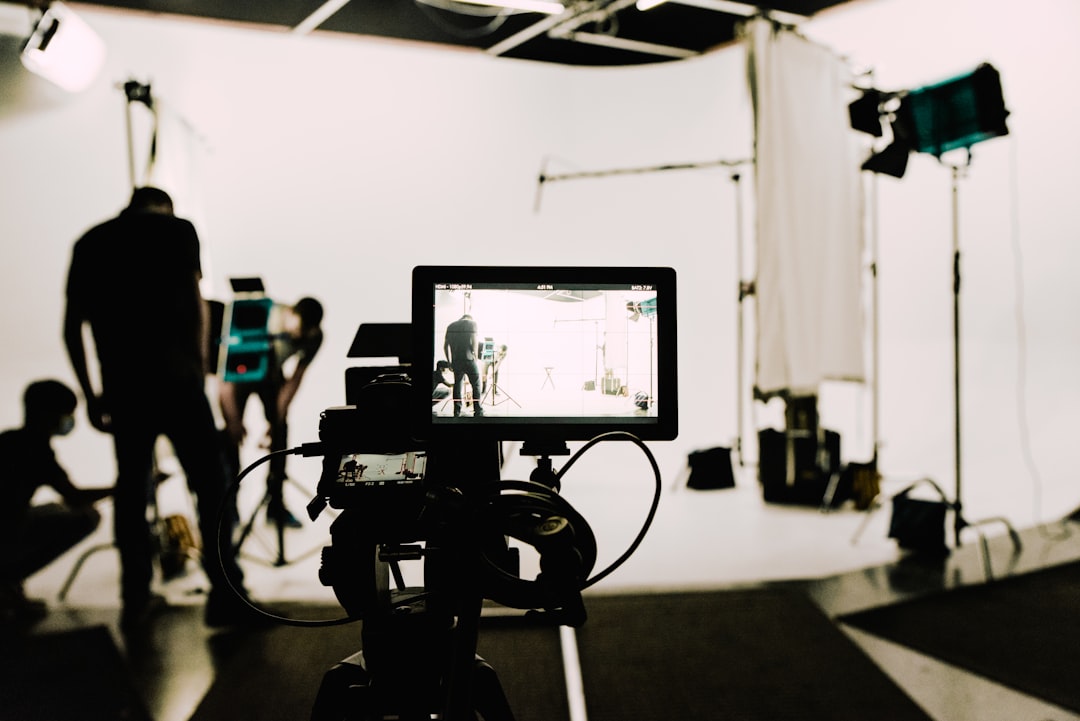
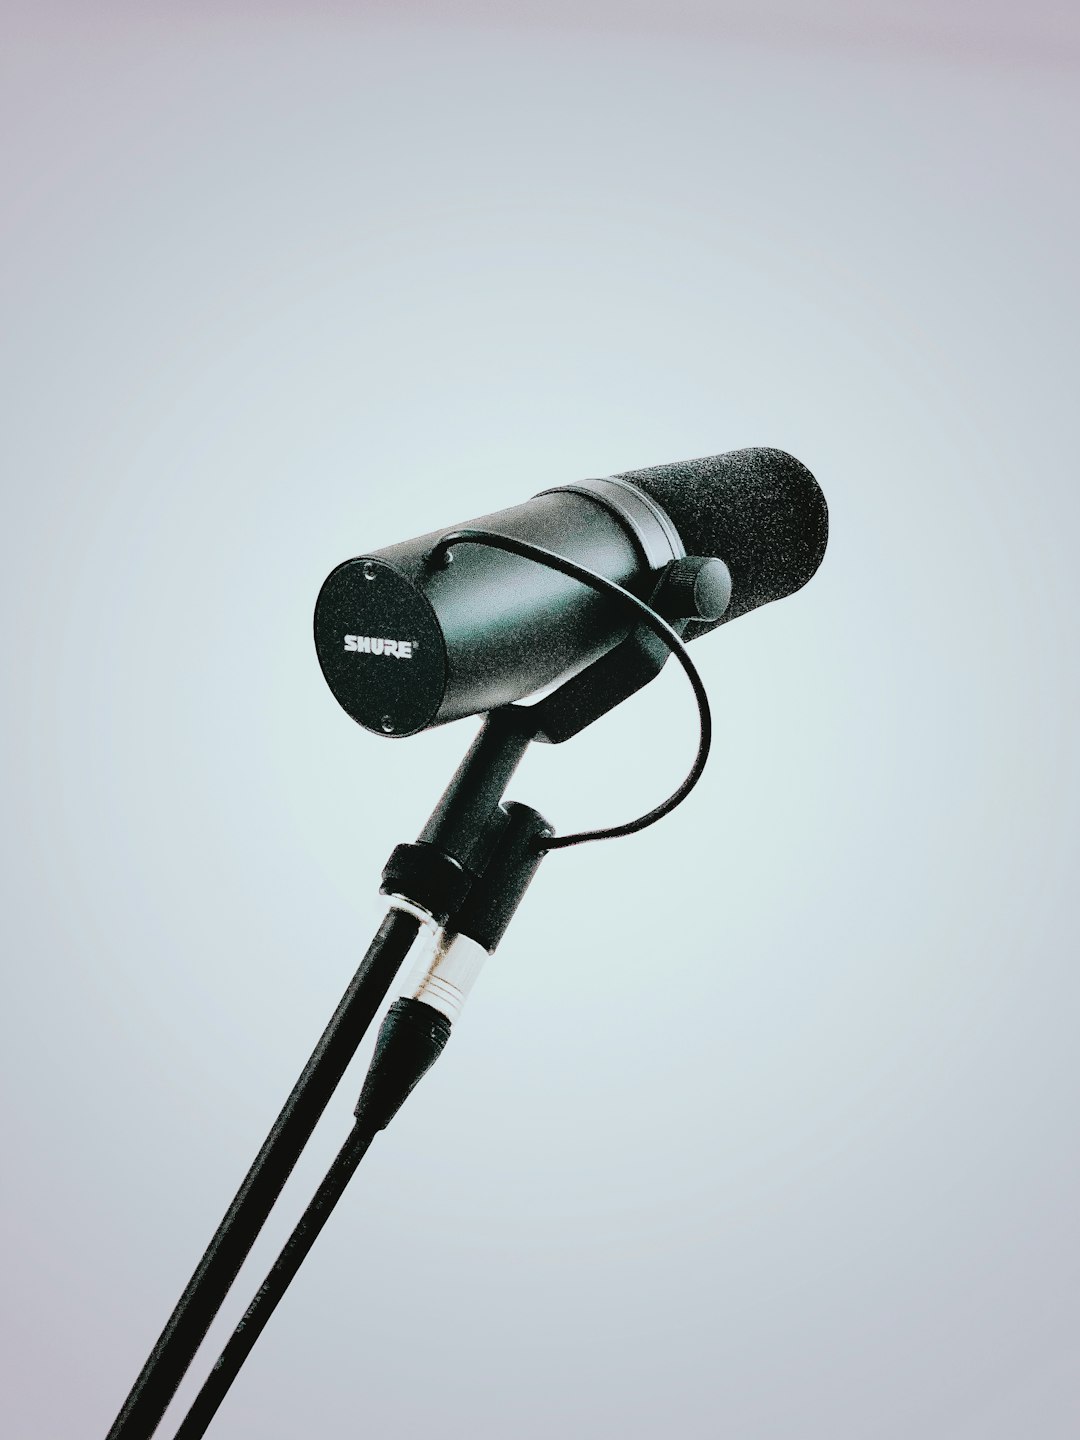
Step 2: Choose the Right Equipment
You don’t need a Hollywood studio to create high-quality talking head videos. However, a few essential pieces of equipment will greatly improve your production value:
- Camera: A DSLR or mirrorless camera provides excellent quality, but modern smartphones can also work if properly stabilized and well-lit.
- Microphone: Audio quality is just as important as video. Invest in a lapel mic or shotgun mic to capture crisp, direct sound.
- Lighting: Use softbox lights or ring lights to evenly illuminate your face. Natural light from a window can also be effective when used correctly.
- Tripod: Keep your camera steady and at eye level for the best angle.
Step 3: Set Up Your Space
Choose a recording environment that supports professional, distraction-free content. Consider these tips:
- Background: Keep it simple and uncluttered. A plain wall, bookshelf, or branded backdrop works well.
- Sound Control: Avoid echo-prone spaces. Use curtains, rugs, and furniture to absorb ambient sound.
- Camera Placement: Set your camera at eye level, roughly three feet away, and leave headroom above your head in the frame.
Step 4: Lighting and Framing
Lighting can dramatically improve the quality of your video. Aim for a three-point lighting setup if possible:
- Key light: The primary light, placed at a 45-degree angle from your face.
- Fill light: Placed on the opposite side to reduce shadows.
- Back light: Lights the back of your shoulders and head to create depth.
Framing-wise, your face should occupy the central upper third of the screen. Look into the lens, not the screen, to maintain eye contact with your viewers.
Step 5: Record Confidently
Practice reading your script naturally or try speaking from notes to maintain spontaneity. When you’re ready:
- Check all gear: Audio levels, battery life, lighting positions.
- Warm up: Do short vocal exercises to sound clear and confident.
- Smile and maintain posture: It boosts your energy and on-camera presence.

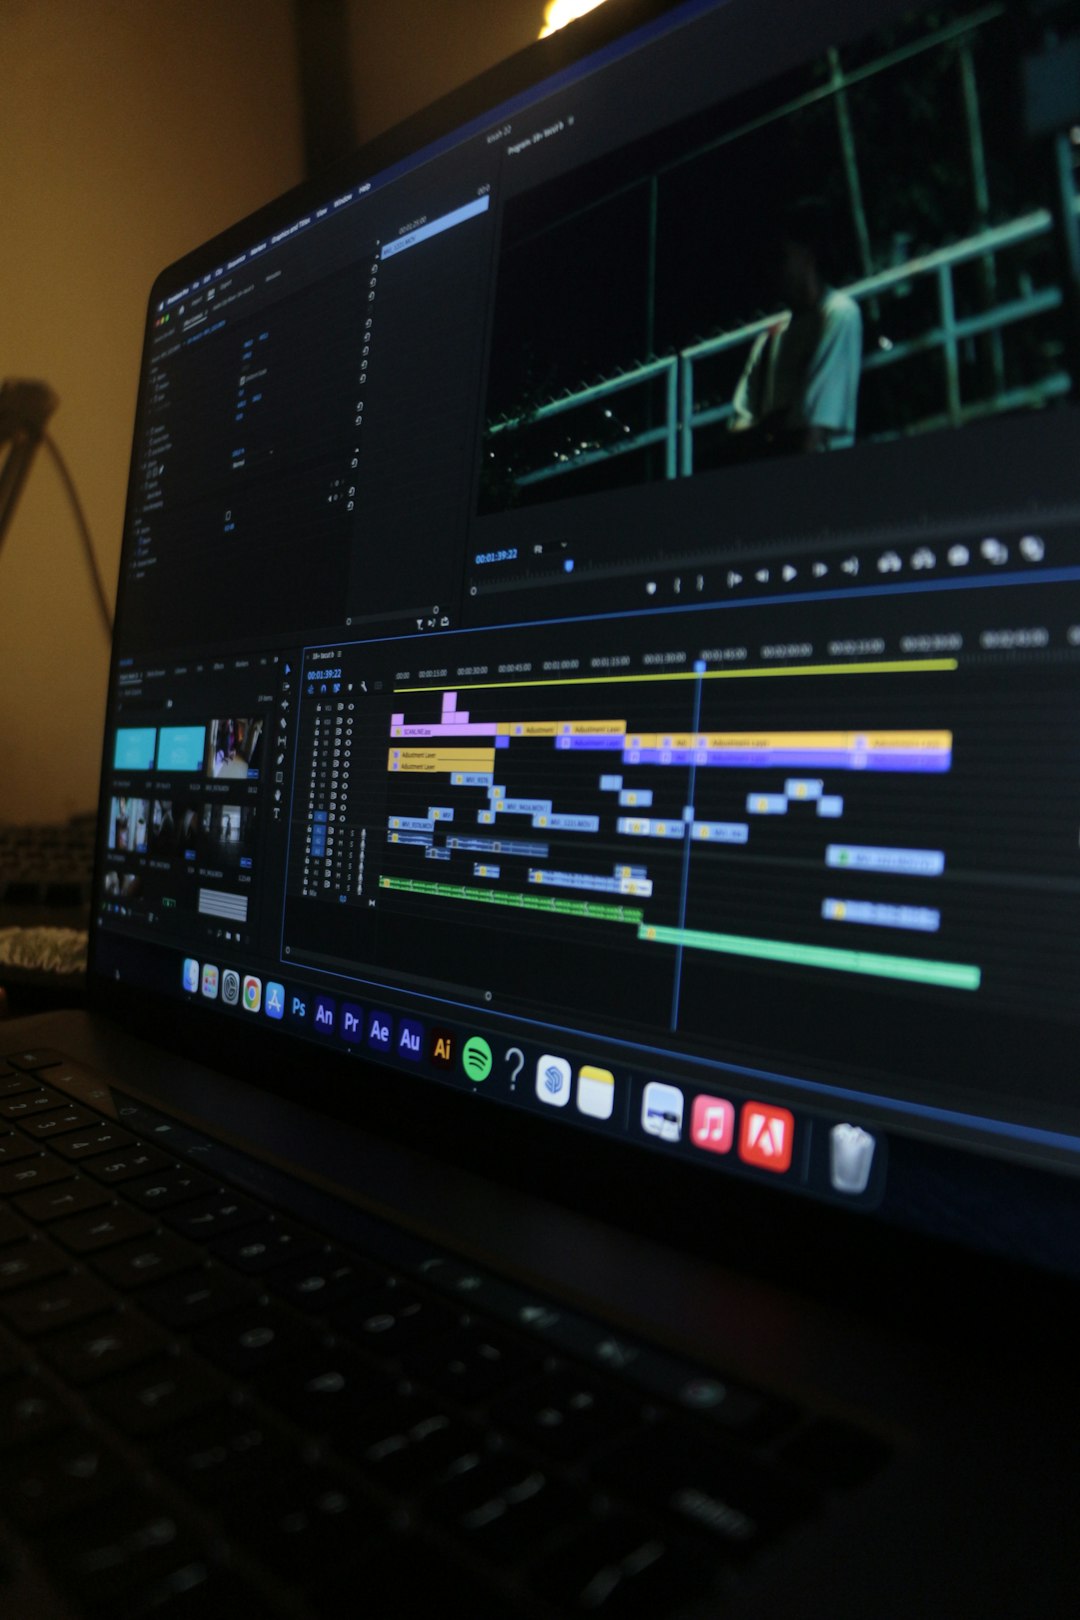
Step 6: Editing Your Video
Post-production is where your content comes to life. Use editing software like Adobe Premiere Pro, Final Cut Pro, or beginner-friendly options like iMovie or DaVinci Resolve. Key edits include:
- Trimming dead space: Remove pauses or mistakes to maintain flow.
- Adding visuals: Use on-screen text, B-roll, or graphs to illustrate key points.
- Audio polishing: Adjust levels and reduce background noise for clarity.
Be consistent with your branding, music, and color grading for a professional finish.
Step 7: Review and Publish
Before publishing, review your video multiple times. Ask others for feedback to catch issues you might overlook. Once you’re satisfied, upload your video to your chosen platform with a compelling title, description, and thumbnail to attract viewers.
Final Thoughts
Creating a professional talking head video takes preparation, but the results are worth it. With clear messaging, the right equipment, and good editing, beginners can create videos that look and sound incredible. Over time, your skills — and your audience — will grow. Stick with it, practice regularly, and invest in learning the craft.
Remember, the most important element in any talking head video is you. Speak with confidence, be authentic, and let your personality shine through the lens.